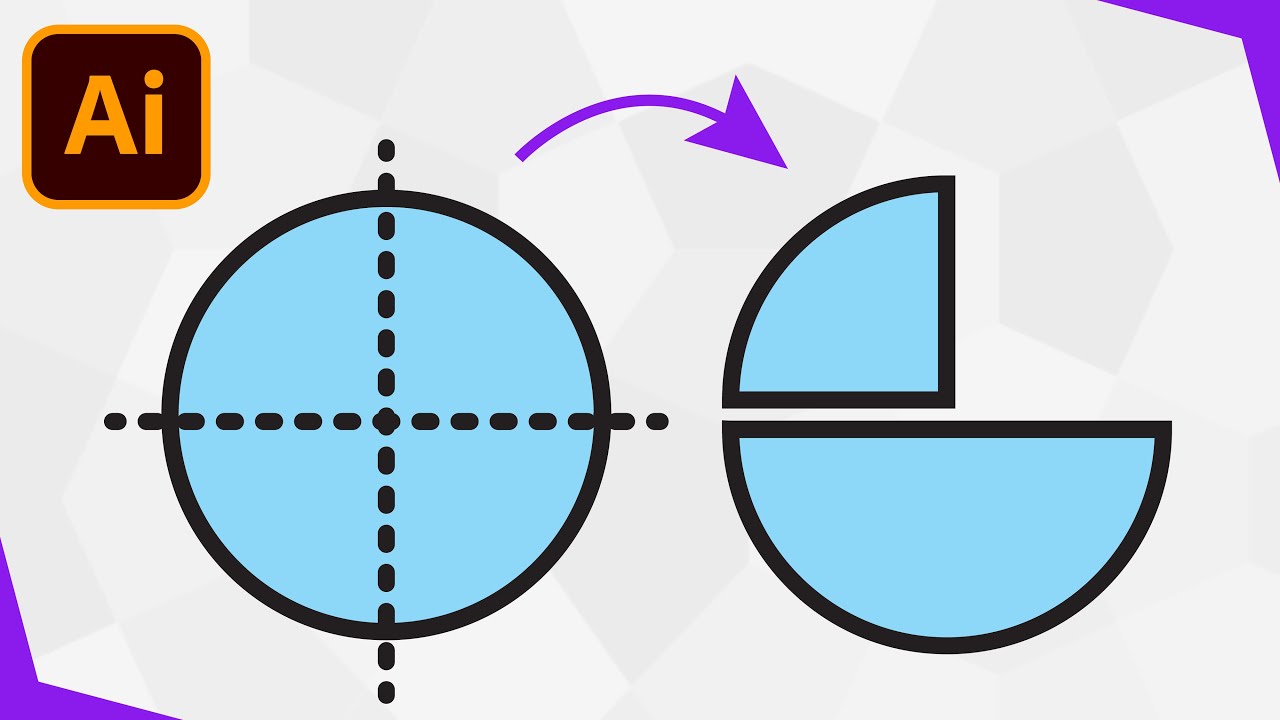
To make a half circle in Illustrator, use the Ellipse Tool to draw a full circle, then select and delete one half. Illustrator provides an easy method for creating precise and accurate half circles.
Are you looking to create a half circle in Adobe Illustrator? Look no further! In this guide, we will walk you through the step-by-step process of making a half circle using Illustrator. Illustrator is a versatile graphic design software that allows you to create stunning shapes and designs.
Whether you’re a seasoned designer or just getting started, learning how to make a half circle in Illustrator is a valuable skill. So, let’s dive in and discover how you can create a perfect half circle in Illustrator in no time.

Credit: in.pinterest.com
Tools And Techniques For Creating Half Circle Designs
Creating half circle designs in Illustrator can add a dynamic and visually appealing element to your graphic projects. In this blog post, we will explore three essential tools and techniques that will empower you to effortlessly create half circle designs in Illustrator. Understanding the Pen Tool, Working with the Ellipse Tool, and Utilizing the Pathfinder tool will equip you with the necessary skills to achieve the desired results. So let’s dive in!
Understanding The Pen Tool
The Pen Tool is an indispensable tool when it comes to creating precise half circle shapes in Illustrator. By leveraging the Pen Tool’s control handles, you can easily manipulate anchor points and create perfectly symmetrical curves. Here’s how you can use the Pen Tool to make a half circle:
- Select the Pen Tool from the toolbar.
- Click and drag to create the first anchor point.
- Click and drag again to create the second anchor point.
- Hold down the Shift key to ensure a straight line from the anchor point to the center of the circle.
- Release the mouse button to create the half circle.
By mastering the Pen Tool, you will have the flexibility to create half circles of various sizes and proportions, giving your designs a unique touch.
Working With The Ellipse Tool
The Ellipse Tool is another excellent tool that can streamline the process of creating half circle designs. Here’s how you can use it:
- Select the Ellipse Tool from the toolbar.
- Click and drag while holding down the Shift key to create a perfect circle.
- Select the Direct Selection Tool from the toolbar.
- Click on one of the anchor points of the circle.
- Press the Delete key to remove the selected anchor point.
By removing one of the anchor points, you will be left with a half circle shape. The Ellipse Tool offers a quick and straightforward method for creating half circles in Illustrator.
Utilizing The Pathfinder Tool
The Pathfinder tool is a powerful resource when it comes to creating half circle designs with complex shapes and cutouts. Here’s how you can use it:
- Create two overlapping objects, such as a circle and a rectangular shape.
- Select both objects.
- Open the Pathfinder panel by going to Window > Pathfinder.
- Click on the “Divide” button.
- Ungroup the resulting shapes by going to Object > Ungroup.
- Delete the unwanted portions of the divided shapes.
By utilizing the Pathfinder tool, you can create intricate half circle designs with cutouts and unique shapes, adding depth and visual interest to your artwork.
By understanding the Pen Tool, working with the Ellipse Tool, and utilizing the Pathfinder tool, you now have the essential tools and techniques to create captivating half circle designs in Illustrator. Armed with these skills, you can elevate your graphic projects and bring your creative vision to life!

Credit: www.athome.com
Step-by-step Tutorial: Creating A Half Circle Design In Illustrator
Learn how to create a half circle design in Illustrator with this step-by-step tutorial. Master the technique and unleash your creativity in making half circle designs in no time.
Step-by-Step Tutorial: Creating a Half Circle Design in IllustratorSetting Up The Document
To create a perfect half circle design in Illustrator, the first step is to set up the document properly. Open Illustrator and create a new document by going to File > New. Enter the desired dimensions for your design in the width and height fields, or choose a preset from the dropdown menu. Ensure that the units are set to pixels for a web-based design. Click on “Create” to proceed.
Drawing The Half Circle
Now that the document is ready, it’s time to draw the half circle. Select the “Ellipse Tool” from the left toolbar or simply press the “L” key. Click anywhere on the artboard and a dialog box will appear. Enter the desired width and height for your half circle. The width you enter will determine the radius of the circle, so make sure it’s twice the size of the height. Press “OK” to create the circle.
Adding Color And Effects
With the half circle drawn, it’s time to make it visually appealing by adding color and effects. To add color, select the half circle and navigate to the “Color” panel. Choose a fill color from the options available or enter a specific color value in the color picker. To apply effects, go to the “Effects” menu and explore the available options such as gradients, shadows, or strokes. Experiment with different combinations until you achieve the desired look.
By following these simple steps, you can easily create a stunning half circle design in Adobe Illustrator. Remember to save your work frequently and explore the various tools and features that Illustrator offers to enhance your design further.
Credit: m.youtube.com
Frequently Asked Questions For How To Make A Half Circle Illustrator
How Do You Create A Half Circle In Illustrator?
To create a half circle in Illustrator, use the Ellipse Tool to draw a full circle. Then select the Direct Selection Tool and grab one anchor point on the side of the circle. Press Delete to remove the other half.
Simple as that!
How Do You Make A Divided Circle In Illustrator?
To make a divided circle in Illustrator, use the Pie Graph Tool located in the tool panel. Simply select the tool, click and drag to create a circle, and input the desired values in the dialog box to create separate sections within the circle.
Finally, customize the appearance as needed.
How Do You Split A Shape In Half In Illustrator?
To split a shape in half in Illustrator, select the shape and go to the Object menu. From there, choose the path option and then select Divide. The shape will be split into two halves, making it easier to work on each part individually.
How Do You Draw A Perfect Half Circle?
To draw a perfect half circle, follow these steps: 1. Start by drawing a straight line on paper. 2. Use a compass, placing the point on one end of the line. 3. Rotate the compass, keeping the point on the line, to create an arc.
4. Connect the endpoints of the arc with the line, forming a half circle. 5. Trace over the half circle to make it more prominent if desired.
Conclusion
Creating a half circle in Illustrator is a simple yet effective technique that can enhance your design projects. By following the steps outlined in this post, you can easily master this skill and add it to your design toolkit. Whether you’re creating logos, illustrations, or diagrams, the ability to make a half circle in Illustrator offers endless possibilities for creativity.
So don’t hesitate to try it out and unleash your artistic potential!
{ “@context”: “https://schema.org”, “@type”: “FAQPage”, “mainEntity”: [ { “@type”: “Question”, “name”: “How do you create a half circle in Illustrator?”, “acceptedAnswer”: { “@type”: “Answer”, “text”: “To create a half circle in Illustrator, use the Ellipse Tool to draw a full circle. Then select the Direct Selection Tool and grab one anchor point on the side of the circle. Press Delete to remove the other half. Simple as that!” } } , { “@type”: “Question”, “name”: “How do you make a divided circle in Illustrator?”, “acceptedAnswer”: { “@type”: “Answer”, “text”: “To make a divided circle in Illustrator, use the Pie Graph Tool located in the tool panel. Simply select the tool, click and drag to create a circle, and input the desired values in the dialog box to create separate sections within the circle. Finally, customize the appearance as needed.” } } , { “@type”: “Question”, “name”: “How do you split a shape in half in Illustrator?”, “acceptedAnswer”: { “@type”: “Answer”, “text”: “To split a shape in half in Illustrator, select the shape and go to the Object menu. From there, choose the path option and then select Divide. The shape will be split into two halves, making it easier to work on each part individually.” } } , { “@type”: “Question”, “name”: “How do you draw a perfect half circle?”, “acceptedAnswer”: { “@type”: “Answer”, “text”: “To draw a perfect half circle, follow these steps: 1. Start by drawing a straight line on paper. 2. Use a compass, placing the point on one end of the line. 3. Rotate the compass, keeping the point on the line, to create an arc. 4. Connect the endpoints of the arc with the line, forming a half circle. 5. Trace over the half circle to make it more prominent if desired.” } } ] }